


Wallpapering Made Easy: A Step-by-Step Guide
Wallpaper can transform the look and feel of a room, adding a touch of elegance and personality. However, the thought of putting up wallpaper can be intimidating for some. The good news is that with the right tools and a little patience, wallpapering can be a straightforward DIY project. In this guide, we will take you through the easy way to put up wallpaper and create a stunning feature wall or a beautifully papered room.
Materials You'll Need:
Before you start, gather the following materials:
- Wallpaper rolls
- Wallpaper adhesive (paste or self-adhesive)
- Measuring tape
- Wallpaper smoother or squeegee
- Utility knife or wallpaper scissors
- Wallpaper brush or roller
- Sponge and bucket of water (if using traditional wallpaper paste)
- Ladder or step stool
- Drop cloth or plastic sheeting
- Level
- Pencil
Step 1: Prepare Your Workspace
Start by clearing the room as much as possible. Remove furniture, switch plates, and outlet covers. Cover the floor with a drop cloth or plastic sheeting to catch any drips or adhesive spills.
Step 2: Measure and Cut the Wallpaper
Measure the height of your wall and add a few extra inches for trimming at the top and bottom. Unroll the wallpaper and cut it to the appropriate length for your wall. Be sure to match the patterns if your wallpaper has one.
Step 3: Apply Wallpaper Adhesive
Depending on the type of wallpaper you have, you'll either use wallpaper paste or adhesive that comes with pre-pasted wallpaper. Follow the manufacturer's instructions for mixing paste if needed. Apply adhesive evenly to the back of the wallpaper, ensuring that you cover all areas.
Step 4: Position the First Panel
Start at one corner of the room and align the top of the wallpaper with your ceiling or the line you marked using a level as a guide. Leave a small overhang at the top and bottom for trimming later.
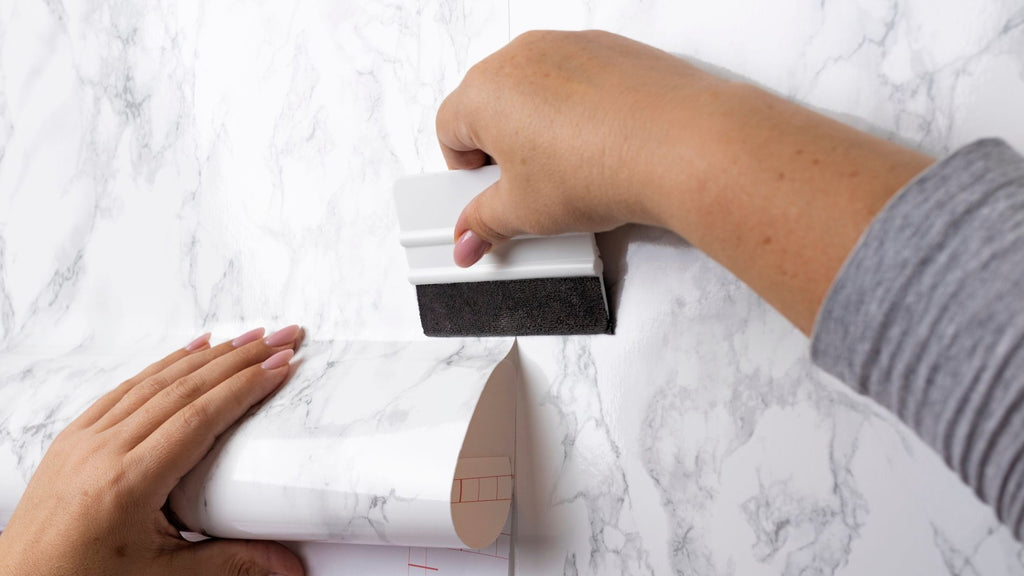
Step 5: Smooth Out Air Bubbles
Using a wallpaper smoother or a squeegee, gently smooth out the wallpaper from the center towards the edges to remove any air bubbles or wrinkles. Be careful not to tear the paper.
Step 6: Trim Excess Wallpaper
With a utility knife or wallpaper scissors, carefully trim the excess wallpaper at the top and bottom along the ceiling and baseboard. Use a straightedge or the edge of a wallpaper smoother as a guide.
Step 7: Repeat the Process
Continue hanging additional panels of wallpaper, matching the pattern as you go. Be sure to line up each new piece with the previous one, leaving a slight overlap. Smooth out any air bubbles or wrinkles as you work.
Step 8: Clean and Final Touches
If you've used traditional wallpaper paste, wipe off any excess paste with a damp sponge. Reattach switch plates and outlet covers, and return furniture to its place.
Wallpapering doesn't have to be a daunting task. By following these steps and taking your time, you can easily give your room a fresh and stylish makeover. Remember, practice makes perfect, so don't be discouraged if it's your first time. With a little patience and attention to detail, you'll have a beautifully wallpapered space that you can be proud of. Happy decorating!